
Delicious Salmon Balls with Avocado Sauce Recipe Every Time

Imagine biting into a perfectly crispy salmon ball, with the rich essence of fresh fish and hints of zesty lemon dancing in your mouth. Now, pair that experience with a cooling avocado sauce that brings everything together in a dreamy harmony. This delicious Salmon Balls with Avocado Sauce recipe isn’t just a meal; it’s an adventure that tells a story of flavor, texture, and love for cooking. As I remember the first time I made these salmon balls, it was during a family gathering. Everyone was bustling around the kitchen, and I wanted to bring something special to the table that would stand out among the usual fare. The laughter and chatter faded away as I pulled these silver-dollar-sized bites of joy out of the oven, their golden exteriors beckoning to be sampled. Trust me; these salmon balls are not just for special occasions. They can transform a weekday dinner into an exciting feast that leaves your taste buds in celebration. Ingredients for Salmon Balls with Avocado Sauce Here’s what you’ll need to make this delicious Salmon Balls with Avocado Sauce: 1 lb fresh salmon fillet – Look for a vibrant color and firm texture; wild-caught is often the best choice for flavor. 1 cup breadcrumbs – Use plain for a classic taste or seasoned for an extra punch. Homemade breadcrumbs add a delightful touch. 1 large egg – This acts as a binding agent, helping your salmon balls hold their shape during cooking. 2 tbsp fresh dill or parsley, chopped – Fresh herbs infuse beautiful notes of flavor and fragrance into these bites. 2 tbsp fresh lemon juice – Adds brightness and balances the richness of the salmon. 1 ripe avocado – A creamy base for the luscious sauce that will elevate your salmon balls. ½ cup Greek yogurt – This tangy element provides creaminess and a boost of protein in the sauce. 2 cloves garlic, minced – A punch of flavor that complements the salmon beautifully. 1 tbsp fresh lime juice – For a zesty kick, balancing the creaminess of the avocado. Salt and pepper to taste – Essential for bringing all the flavors together. How to Make Salmon Balls with Avocado Sauce Follow these simple steps to prepare this delicious Salmon Balls with Avocado Sauce: Step 1: Preheat the Oven Preheat your oven to 400°F (200°C). Prepare a baking sheet by lining it with parchment paper for easier cleanup. Step 2: Prepare the Salmon Mixture Chop the salmon fillet into small, manageable pieces and place them in a large mixing bowl. Add in the breadcrumbs, egg, chopped herbs, lemon juice, salt, and pepper. Mix everything together gently until well combined, making sure not to overwork the mixture. Step 3: Shape the Balls Using your hands, form the mixture into balls approximately the size of a golf ball, ensuring they’re nice and compact. Place each ball on the prepared baking sheet, spacing them evenly. Step 4: Bake the Salmon Balls Slide the baking sheet into the preheated oven and let the salmon balls bake for 15-20 minutes. They should turn golden brown and flake easily with a fork when done. Step 5: Prepare the Avocado Sauce While the salmon balls are baking, grab a food processor and blend the ripe avocado, Greek yogurt, minced garlic, lime juice, salt, and pepper until smooth and creamy. Taste and adjust the seasoning as desired. Step 6: Serve and Enjoy Once the salmon balls are done, transfer them to a serving platter. Drizzle or serve the avocado sauce on the side for dipping, and get ready for some serious flavor fun! These salmon balls with avocado sauce are not just a feast for your palate but a delight for the eyes too. Their golden color contrasts beautifully with the vibrant green sauce, making them as stunning as they are tasty. Enjoy them at your next gathering or treat yourself on a cozy evening in—either way, you’re in for a scrumptious experience! Perfecting Salmon Balls with Avocado Sauce Cooking Process To achieve a flawless dish, start by preheating the oven while you chop the salmon and mix your ingredients. Form the salmon balls before blending the creamy avocado sauce, allowing flavors to meld as they bake to golden perfection. Add Your Touch to Salmon Balls with Avocado Sauce Feel free to swap the salmon for canned tuna or even a firm white fish like cod for an exciting twist. Experiment with different herbs, add jalapeños for heat, or fold in some diced red pepper for extra crunch and sweetness. Storing & Reheating Salmon Balls with Avocado Sauce Store leftover salmon balls in an airtight container in the fridge for up to three days. Reheat in the oven at 350°F for about 10 minutes to regain that crispy exterior without losing moisture. Cooking salmon always reminds me of the time I whipped these salmon balls for my family gathering. Everyone was raving about the sauce, and my cousin asked if I had taken a cooking class. The smile on their faces was all the validation I needed! FAQs About Salmon Balls with Avocado Sauce What is Salmon Balls with Avocado Sauce? Salmon Balls with Avocado Sauce is a delicious and healthy dish made from fresh salmon fillets combined with breadcrumbs, herbs, and spices, shaped into bite-sized balls, which are then baked to golden perfection. This dish is complemented by a creamy avocado sauce made with Greek yogurt, garlic, and lime juice, which adds a refreshing zing. It’s perfect as an appetizer, party snack, or main course, making it a versatile addition to any meal. How long do Salmon Balls with Avocado Sauce last? If you have any leftovers, Salmon Balls with Avocado Sauce can be stored in an airtight container in the refrigerator for up to three days. To ensure they retain their delightful crispiness, it’s best to reheat them in the oven at 350°F for about 10 minutes. This method helps maintain their texture without drying them out. Enjoying these tasty bites
Delicious Smash Burger Sauce Recipe for Perfect Grilling Flavors
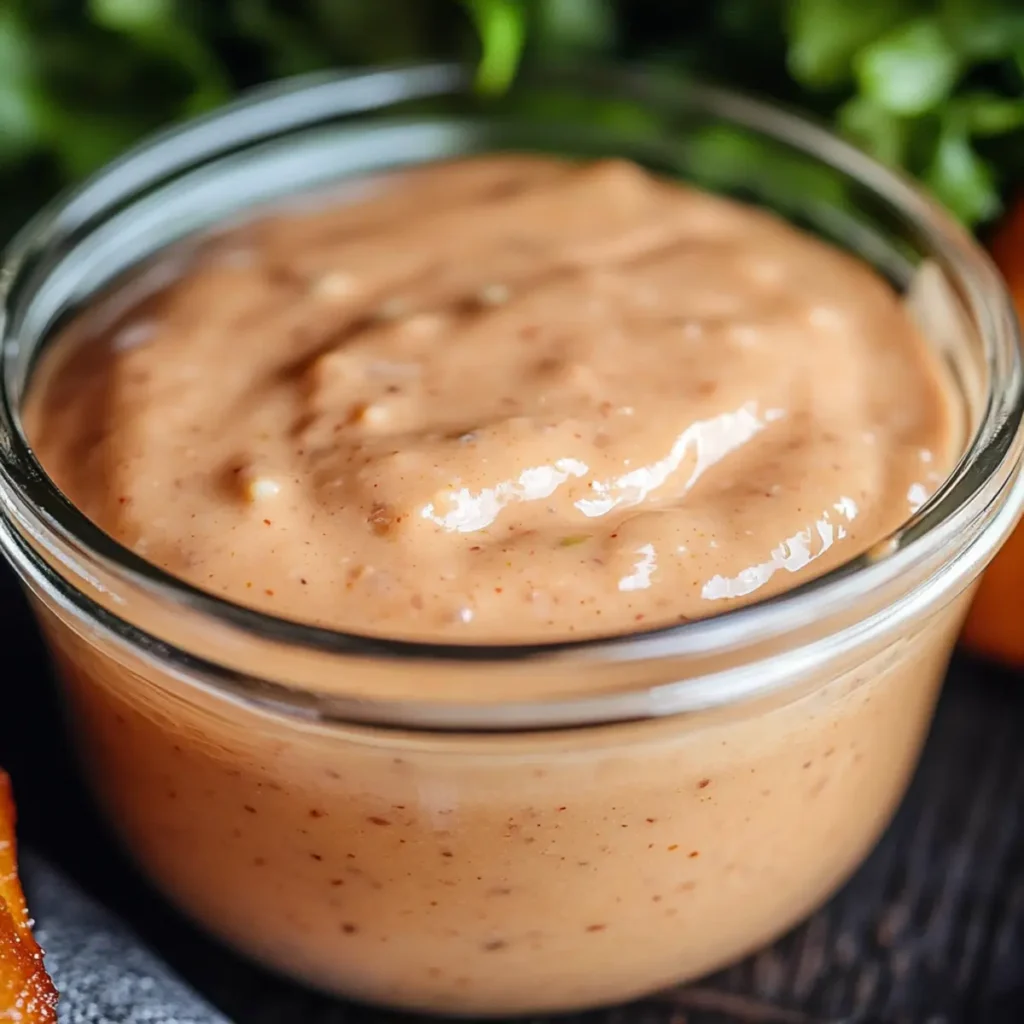
The sizzle of a perfectly charred patty, the aroma wafting through the air, and the first bite that brings a symphony of flavors dancing on your taste buds—this is what a Smash Burger Sauce brings to your backyard barbecues. This magical concoction is designed to elevate your grilling game, ensuring that each burger is not just a meal but an experience filled with joy and flavor. Just imagine a rich, creamy sauce that perfectly balances tanginess and umami, making every burger bite an explosion of deliciousness. Toss the usual ketchup and mustard routine out the window because this Smash Burger Sauce will make you rethink everything you thought you knew about burger toppings. Whether it’s a casual family dinner, a weekend get-together with friends, or that long-awaited summer barbecue, this sauce is the ultimate companion to your grilled creations. The anticipation builds, promising flavors that will not only satisfy your cravings but also leave you wondering how you ever lived without it! Ingredients for Smash Burger Sauce Here’s what you’ll need to make this delicious Smash Burger Sauce: 1 cup mayonnaise – the creamy base that gives this sauce its rich texture; opt for high-quality mayonnaise for the best flavor. 2 tablespoons ketchup – adds a hint of sweetness and tanginess; feel free to use organic ketchup for a healthier twist. 1 tablespoon mustard (yellow or Dijon) – brings a zesty kick that cuts through the creaminess; Dijon will add a gourmet flair. 2 teaspoons pickle juice – this secret ingredient adds a delightful tang that enhances the overall flavor profile; any type of pickle juice will do. 1 teaspoon garlic powder – for that aromatic depth; fresh garlic can be used for a more robust flavor. 1 teaspoon onion powder – imparts a subtle sweetness and complements the other ingredients. How to Make Smash Burger Sauce Follow these simple steps to prepare this delicious Smash Burger Sauce: Step 1: Gather Your Ingredients Start by gathering all your ingredients; this will streamline the process and keep things neat in your kitchen. Grab a medium mixing bowl, a spoon for stirring, and a measuring cup for accuracy. Step 2: Mix the Base In your mixing bowl, combine 1 cup of mayonnaise, 2 tablespoons of ketchup, and 1 tablespoon of mustard. Stir these ingredients together until you achieve a smooth consistency, like cloud fluffiness perfect for slathering on your burgers. Step 3: Add Flavor Enhancers Next, sprinkle in 1 teaspoon of garlic powder and 1 teaspoon of onion powder along with 2 teaspoons of pickle juice. These ingredients are the magic potion that takes your sauce from standard to sensational. Mix thoroughly until everything is well blended. Step 4: Taste Test Time It’s crucial to taste your sauce now! Use a spoon to take a tiny scoop and savor it. This is where you can adjust the seasoning according to your preference. Want more tang? Add a little extra pickle juice or mustard. Like it sweeter? A dash more ketchup should do the trick. Step 5: Chill Out Once your sauce is perfectly seasoned, cover the bowl with plastic wrap or transfer it to an airtight container. Place it in the refrigerator for at least 30 minutes. This chilling time allows the flavors to meld together, creating a beautifully cohesive sauce. Step 6: Serve and Enjoy When your burgers are grilled to perfection, it’s finally time to serve your Smash Burger Sauce. Generously slather it on your burgers, or serve it on the side as a dip. Either way, it’s bound to elevate your grilling experience! Now that your Smash Burger Sauce is ready, get excited about all the scrumptious ways to use it. Imagine it on a juicy beef burger, a turkey patty, or even a veggie burger for anyone wanting a plant-based delight at the table. As you gather for BBQs and family dinners, don’t be surprised if this sauce becomes the star of the show. So grab your grill, invite your friends, and let the summer flavors flow as you whip up delicious meals that will create unforgettable memories. Happy grilling! Perfecting Smash Burger Sauce Cooking Process The best cooking sequence begins with mixing the mayonnaise, ketchup, and mustard until smooth. Next, add the garlic powder, onion powder, and pickle juice. This order not only ensures proper blending but also prevents any clumps from forming, making your sauce irresistibly creamy. Add Your Touch to Smash Burger Sauce Feel free to customize your Smash Burger Sauce by swapping out ingredients. You can add fresh herbs like dill or chives for a pop of flavor or switch to Greek yogurt instead of mayonnaise for a healthier twist. Spice lovers can even introduce a dash of hot sauce. Storing & Reheating Smash Burger Sauce To maintain the quality of your Smash Burger Sauce, store it in an airtight container in the refrigerator for up to one week. If you need to reheat, gently stir over low heat, but this sauce is best served cold or at room temperature for optimal flavor. Creating this sauce reminds me of summer barbecues where friends would gather, and someone always asked for the secret to my burgers’ incredible flavor. When I revealed it was all about that Smash Burger Sauce, their astonishment and delight were unforgettable! FAQs About Smash Burger Sauce What is Smash Burger Sauce? Smash Burger Sauce is a creamy, flavorful condiment that takes your burger experience to the next level. It’s a delightful mixture of mayonnaise, ketchup, mustard, and a hint of spices that come together to create a rich and zesty sauce. This sauce enhances the classic taste of grilled burgers while adding a savory twist that your taste buds will love. Perfect for barbecues or casual weeknight dinners, Smash Burger Sauce is the ultimate topping for anyone looking to elevate their burger game. How do I make Smash Burger Sauce? Making Smash Burger Sauce is simple and quick. Start by combining mayonnaise, ketchup, and mustard in a bowl until the
Deliciously Creamy Avocado Crema Recipe Ready in 10 Minutes
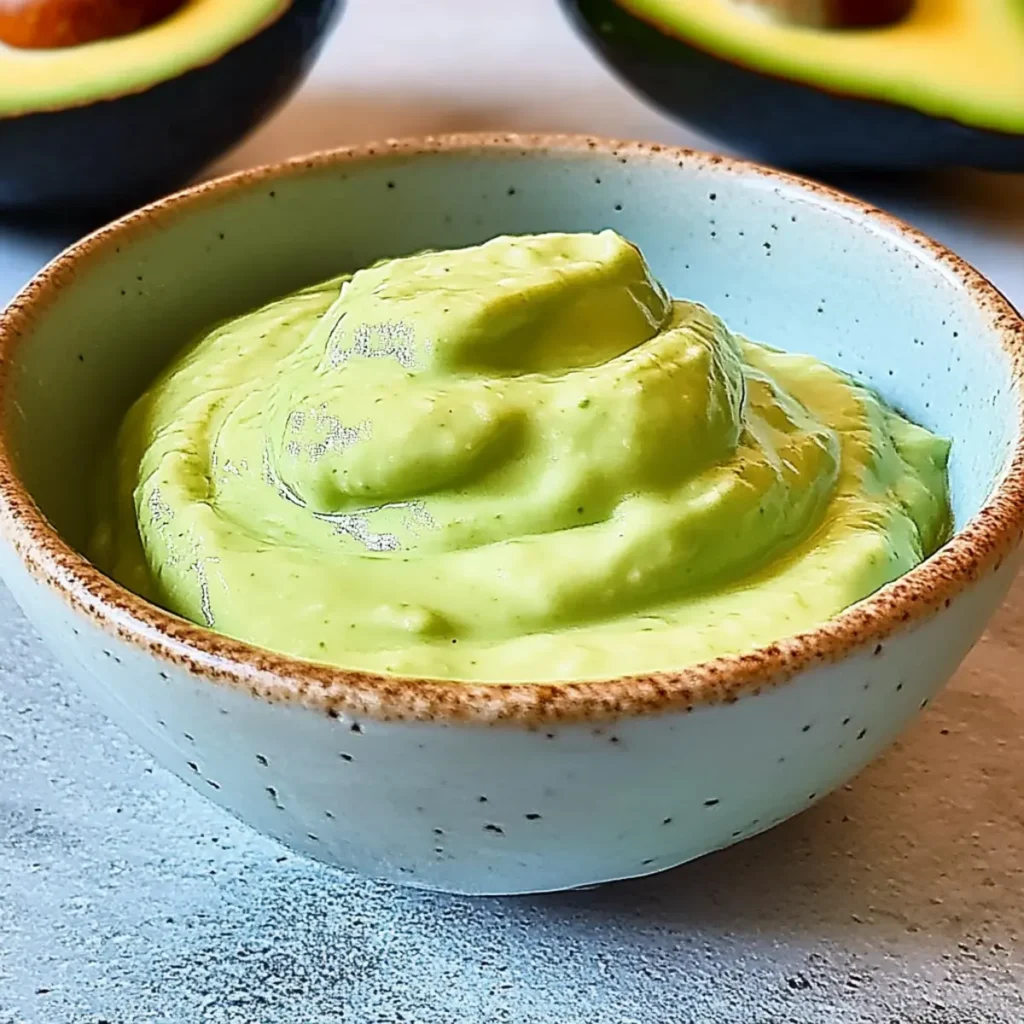
There is something truly magical about Avocado Crema. This velvety concoction is not just a dip; it’s an experience that brings richness to your palate, making every meal feel like a special occasion. Imagine slathering velvety avocado crema on tacos, spooning it over grilled chicken, or simply using it to liven up a plate of tortilla chips—the possibilities are endless, and the flavors are nothing short of a fiesta in your mouth. I remember the first time I made Avocado Crema; I was hosting a casual get-together with friends. As I whizzed the ingredients together, the aroma of fresh cilantro and zesty lime danced in the air. When I finally served it, the bowl didn’t last long; everyone was diving in for more. This dish has since become a staple at our family gatherings, guaranteed to make everyone smile. Ingredients for Avocado Crema Here’s what you’ll need to make this delicious Avocado Crema: 2 ripe avocados – Choose avocados that yield slightly to pressure for the best creaminess. Overripe ones work too, but aim for a vibrant green inside. 2 tablespoons freshly squeezed lime juice – Fresh lime juice is key for that bright zing; bottled juice just doesn’t cut it when it comes to flavor. 1 clove garlic, minced – Fresh garlic adds a punch to the crema. If you love a stronger garlic flavor, feel free to add an extra clove. ¼ cup fresh cilantro, chopped – This herb offers a fresh, earthy taste. You can substitute it with parsley for a different flavor, but where’s the fun in that? ½ cup sour cream or Greek yogurt – Both options provide a creamy base. Greek yogurt is a great healthier alternative if you prefer a lighter version. How to Make Avocado Crema Follow these simple steps to prepare this delicious Avocado Crema: Step 1: Gather Your Ingredients Start by assembling all your ingredients in a mixing bowl. Having everything ready will make the process much easier and cleaner. Step 2: Prep the Avocados Carefully halve the avocados, remove the pits (watch out for those pesky stones!), and scoop the bright green flesh into your mixing bowl. The more ripe, the creamier; you want them to feel a little soft when you press on them. Step 3: Add the Flavor Makers Toss in the lime juice, minced garlic, chopped cilantro, and your choice of sour cream or Greek yogurt. Just thinking about the blend of these ingredients gives me butterflies. Step 4: Blend to Perfection Now, grab your immersion blender or food processor and whizz everything together until smooth and creamy. Make sure to scrape down the sides for an even consistency. If you want a chunkier texture, pulse gently just a few times. Step 5: Season to Taste Give your crema a taste test. This is where you can play with the seasoning! Sprinkle in a pinch of salt or add a little extra lime juice if you crave more zing. Step 6: Serve it Up! Transfer your beautiful Avocado Crema to a serving bowl. If you want to wow your guests, garnish with a bit of cilantro or a drizzle of lime juice. Dive into it with tortilla chips or spread it over your favorite tacos; the world is your avocado oyster! With just 10 minutes and a handful of fresh ingredients, you’ve created an outstanding dish that’s perfect for gatherings or a quick snack. Whether you’re a culinary novice or a seasoned pro, Avocado Crema is so easy to whip up that you’ll ponder how you ever lived without this creamy delight. So, get those avocados ready, and prepare for a culinary adventure that’ll turn your next meal into something special. Enjoy every velvety bite, and remember: life is too short not to bathe your food in creamy greatness! Perfecting Avocado Crema Cooking Process Start by gathering all your ingredients and equipment first. Halve the avocados, scoop out the flesh, and blend with the other ingredients in a food processor to get that creamy consistency. This efficient sequence minimizes mess and maximizes flavor. Add Your Touch to Avocado Crema Feel free to jazz up your Avocado Crema! Swap Greek yogurt for cream cheese for a richer taste or add diced jalapeños for a spicy kick. Experimenting with spices like cumin or smoked paprika can take this dish to new heights. Storing & Reheating Avocado Crema Store leftovers in an airtight container in the fridge to maintain freshness. If you have to reheat it, take care to warm it gently to avoid compromising the creamy texture. With a splash of lime, it’ll taste as good as fresh! When I first made Avocado Crema for a dinner party, my friends couldn’t stop raving about it. One even asked if I could bottle it up for them! That moment let me know I had found a winner. FAQs About Avocado Crema What is Avocado Crema? Avocado Crema is a luscious, creamy dip that brings together ripe avocados, sour cream or Greek yogurt, and fresh lime juice, making it perfect for enhancing your dishes. This flavorful sauce is typically brightened with garlic and fresh cilantro, creating a delightful balance of taste and texture. It’s versatile enough to serve with tacos, grilled meats, or as a spread on sandwiches. In just 10 minutes, you can whip up this delightful addition that will impress all your dinner guests. How do I make Avocado Crema? Making Avocado Crema is incredibly simple and requires minimal effort. Start by halving and pitting ripe avocados, then scoop the flesh into a mixing bowl. Add freshly squeezed lime juice, minced garlic, chopped cilantro, and either sour cream or Greek yogurt. Blend the mixture until it’s perfectly smooth. A food processor or immersion blender works wonders for achieving that creamy consistency. Taste and adjust any seasoning to suit your palate, and you’re ready to enjoy this delicious condiment. Can I customize my Avocado Crema recipe? Absolutely! One of the best parts of preparing Avocado Crema is its
Crispy Honey Garlic Salmon Bites Recipe Ready in 25 Minutes
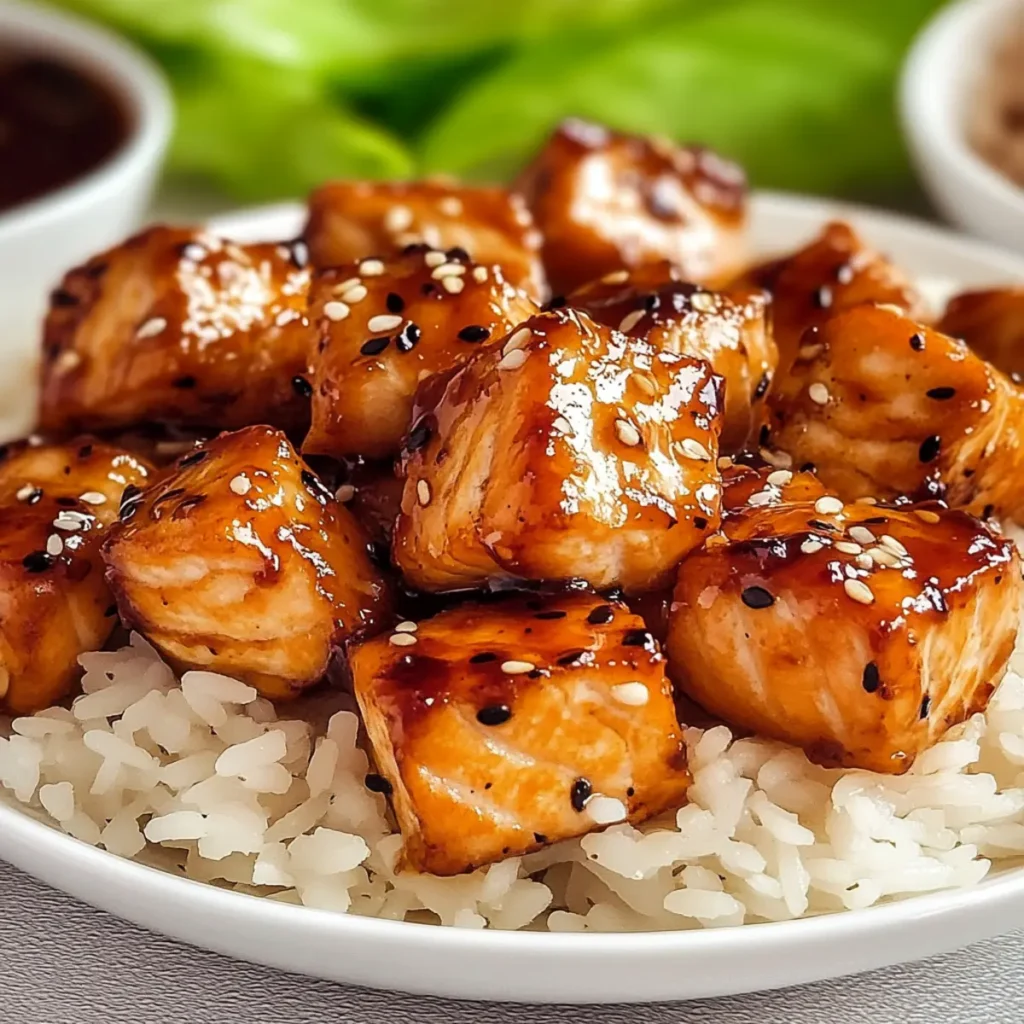
Imagine biting into a piece of fish so crispy and succulent that it dances a happy jig on your taste buds. That’s exactly what you’ll experience with these Crispy Honey Garlic Salmon Bites. These little nuggets of joy pack a flavor punch that’s equal parts sweet, savory, and utterly addictive. Now, let’s talk about that moment when you sit down to dinner with a grin on your face, knowing you’ve just pulled off a meal that feels fancy yet comes together in a mere 25 minutes. It’s like a standing ovation after a dramatic performance — a show-stopping delight that’ll have everyone asking for seconds! Ingredients for Crispy Honey Garlic Salmon Bites Here’s what you’ll need to make this delicious Crispy Honey Garlic Salmon Bites: 1 pound salmon fillets – Try to choose fresh salmon fillets, as they will give you the best texture and flavor for this dish. 1/4 cup honey – This adds the perfect amount of sweetness and glaze that balances perfectly with the savory elements. 3 cloves garlic – Minced for maximum flavor, garlic brings a wonderful aromatic component to the sauce. 2 tablespoons low-sodium soy sauce – This will provide depth and umami while keeping the sodium level in check. 1/2 cup cornstarch – Essential for that crispy coating, cornstarch ensures your salmon bites get golden and crunchy. Oil for frying – Choose a neutral oil (like vegetable or canola) that can withstand high heat for frying. 2 green onions – These not just garnish your dish beautifully but also add freshness and a mild onion flavor. How to Make Crispy Honey Garlic Salmon Bites Follow these simple steps to prepare this delicious Crispy Honey Garlic Salmon Bites: Step 1: Cut the Salmon Begin by cutting the salmon fillets into bite-sized pieces. Aim for uniformity, so they cook evenly. A good size is about 1-inch cubes; they should fit comfortably in your mouth. Step 2: Prepare the Sauce In a bowl, whisk together the honey, minced garlic, and low-sodium soy sauce until well combined. This delicious sauce will coat our salmon bites beautifully, so you want all those flavors to meld together nicely. Step 3: Coat the Salmon Take those salmon pieces and coat each one with cornstarch. This is the secret to getting that ultra-crunchy exterior when you fry them. Make sure they are evenly covered; it’ll make a world of difference in texture. Step 4: Heat the Oil In a skillet, heat a generous amount of oil over medium-high heat. You want enough oil to submerge the salmon bites but not completely drown them. Wait until the oil shimmers, signaling it’s hot and ready for frying. Step 5: Fry the Salmon Bites Carefully add the coated salmon bites to the hot oil, and let them brown for about 3 to 4 minutes on each side. Once they’re golden, you’ll know you’re about to bite into perfection! Avoid overcrowding the pan; work in batches if needed. Step 6: Drizzle and Garnish Remove the crispy salmon from the pan and place them on a plate lined with paper towels to absorb excess oil. Drizzle your honey garlic mixture over the top, sprinkling sliced green onions for that finishing touch. These bites are ready to rock your dinner table! Serve them up hot and fresh, perhaps alongside a vibrant salad or some fluffy rice. Your family and friends will be eager to dive in, ensuring the plate empties faster than you can say “Crispy Honey Garlic Salmon Bites!” So go ahead, indulge in this mouthwatering dish that brings the flavors of the sea to your kitchen in less than half an hour. You deserve every crispy, delicious bite! Perfecting Crispy Honey Garlic Salmon Bites Cooking Process Start by preparing the honey garlic sauce while the oil heats in your skillet. Cut the salmon into bite-sized pieces and coat them in cornstarch. This sequence ensures everything is ready when it’s time to fry, optimizing both flavor and texture. Add Your Touch to Crispy Honey Garlic Salmon Bites Mix things up by using maple syrup instead of honey for a complex flavor twist. You can also add sesame seeds for extra crunch or try using ginger along with the garlic for an aromatic kick. Personalizing this dish makes it even more enjoyable. Storing & Reheating Crispy Honey Garlic Salmon Bites Store leftover salmon bites in an airtight container in the fridge for up to three days. To reheat, place them in a hot skillet for a few minutes until crispy again, preserving that delightful texture. Cooking these salmon bites always takes me back to that dinner party where I surprised my friends with this recipe. Their delighted faces and empty plates truly made the effort worth it. FAQs About Crispy Honey Garlic Salmon Bites What is Crispy Honey Garlic Salmon Bites? Crispy Honey Garlic Salmon Bites are bite-sized pieces of salmon coated in cornstarch and fried until golden and crunchy. Tossed in a delightful mixture of honey, garlic, and soy sauce, these delectable bites are bursting with flavor. Perfect for parties or a quick weeknight dinner, they bring a delicious and satisfying crunch that everyone will love. The blend of sweet and savory elements makes them irresistible, ensuring that your guests will be asking for the recipe before they finish their first bite. How long do Crispy Honey Garlic Salmon Bites take to make? This delightful dish can be prepared in just 25 minutes, making it an excellent option for busy weeknights or last-minute gatherings. With a prep time of about 15 minutes and a quick cooking time of 10 minutes, you can whip up these salmon bites before you know it. Plus, the ease of preparation means you can spend more time enjoying the meal with your loved ones rather than being stuck in the kitchen. Can I make Crispy Honey Garlic Salmon Bites in advance? While these salmon bites are best enjoyed fresh, you can prepare the sauce in advance and store it in the