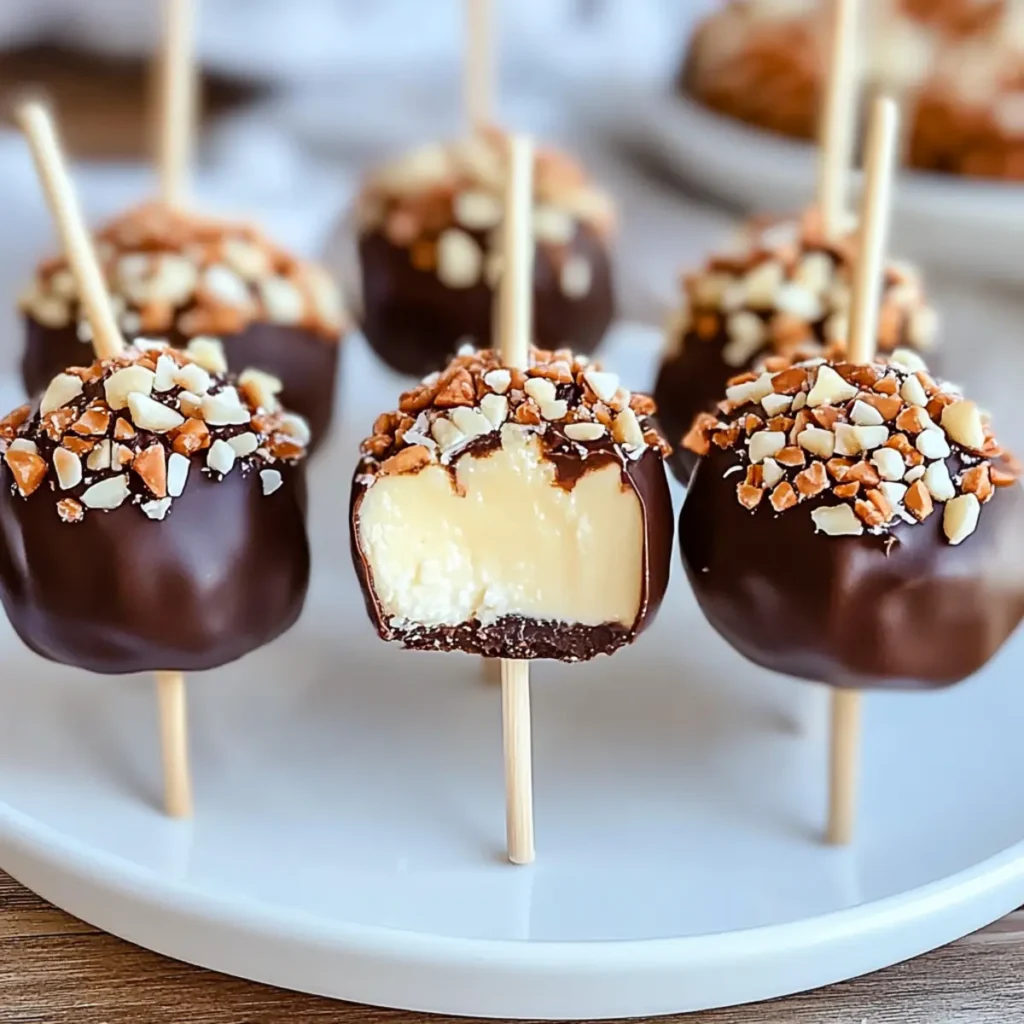
The moment you bite into these Cheesecake Pops, you’ll be transported to dessert heaven. Imagine sinking your teeth into something creamy, sweet, and just the right level of indulgent, with a delightful crunch from the graham cracker coating. These little bites of joy are not just desserts; they are party-ready, shareable little orbs of happiness that will turn any gathering into a festive occasion.
Speaking of gatherings, whether you’re throwing a birthday bash, a summer barbecue, or just trying to impress your friends during movie night, these Cheesecake Pops are a showstopper. With their deliciously creamy filling and the option to customize toppings, they heartily deliver on flavor, fun, and fanciness with hardly any effort. Let’s dive into this delightful recipe that promises not only smiles but maybe a few happy dances along the way.
Why You'll Love This Cheesecake Pops
- This incredible Cheesecake Pops transforms simple everyday ingredients into restaurant-quality flavors that will blow your mind completely.
- Foolproof recipe techniques guarantee perfect results every single time, making even novice cooks feel like professional chefs instantly.
- Stunning visual appeal with gorgeous colors and mouthwatering aromas creates the ultimate Instagram-worthy dish for any special occasion.
- Endlessly adaptable for different dietary needs while working beautifully for meal prep, date nights, or entertaining large groups effortlessly.
Ingredients for Cheesecake Pops
Here’s what you’ll need to make this delicious Cheesecake Pops:
8 oz cream cheese: Make sure to use softened cream cheese for a smooth and creamy filling.
1/2 cup granulated sugar: This will add the perfect amount of sweetness and balance the cream cheese’s richness.
1 tsp pure vanilla extract: Use real vanilla for an aromatic flavor that enhances the overall taste.
1/2 cup graham cracker crumbs: These add both texture and a signature cheesecake flavor; you can crush your own or buy them pre-made.
1 cup melting chocolate or chocolate chips: For coating, choose quality chocolate for best melting and flavor, with options like milk or dark chocolate.
Assorted toppings (sprinkles, nuts): Get creative with your toppings! Nuts add crunch, while sprinkles bring fun and color.
How to Make Cheesecake Pops
Follow these simple steps to prepare this delicious Cheesecake Pops:
Step 1: Prepare the Creamy Filling
In a mixing bowl, beat the softened cream cheese and granulated sugar together until smooth. The mixture should feel like fluffy clouds. Once combined, add in the pure vanilla extract, continuing to mix until everything is incorporated seamlessly.
Step 2: Incorporate the Crust
Stir in the graham cracker crumbs until fully incorporated. This will give our cheesecake pops that fantastic crunch. Once done, using your hands, roll the mixture into 1-inch balls. Feel free to channel your inner pastry chef here!
Step 3: Freeze for Firmness
Place the rolled balls on a parchment-lined baking sheet. Pop them in the freezer for about 2 hours until they are firm enough to dip without losing their shape.
Step 4: Melt the Chocolate
While the cheesecake balls chill, melt your chocolate. You can do this using a microwave in short bursts of 30 seconds, stirring in between, or using a double boiler for more control. Make sure it’s fully melted and smooth for that perfect silky coating.
Step 5: Coat the Pops
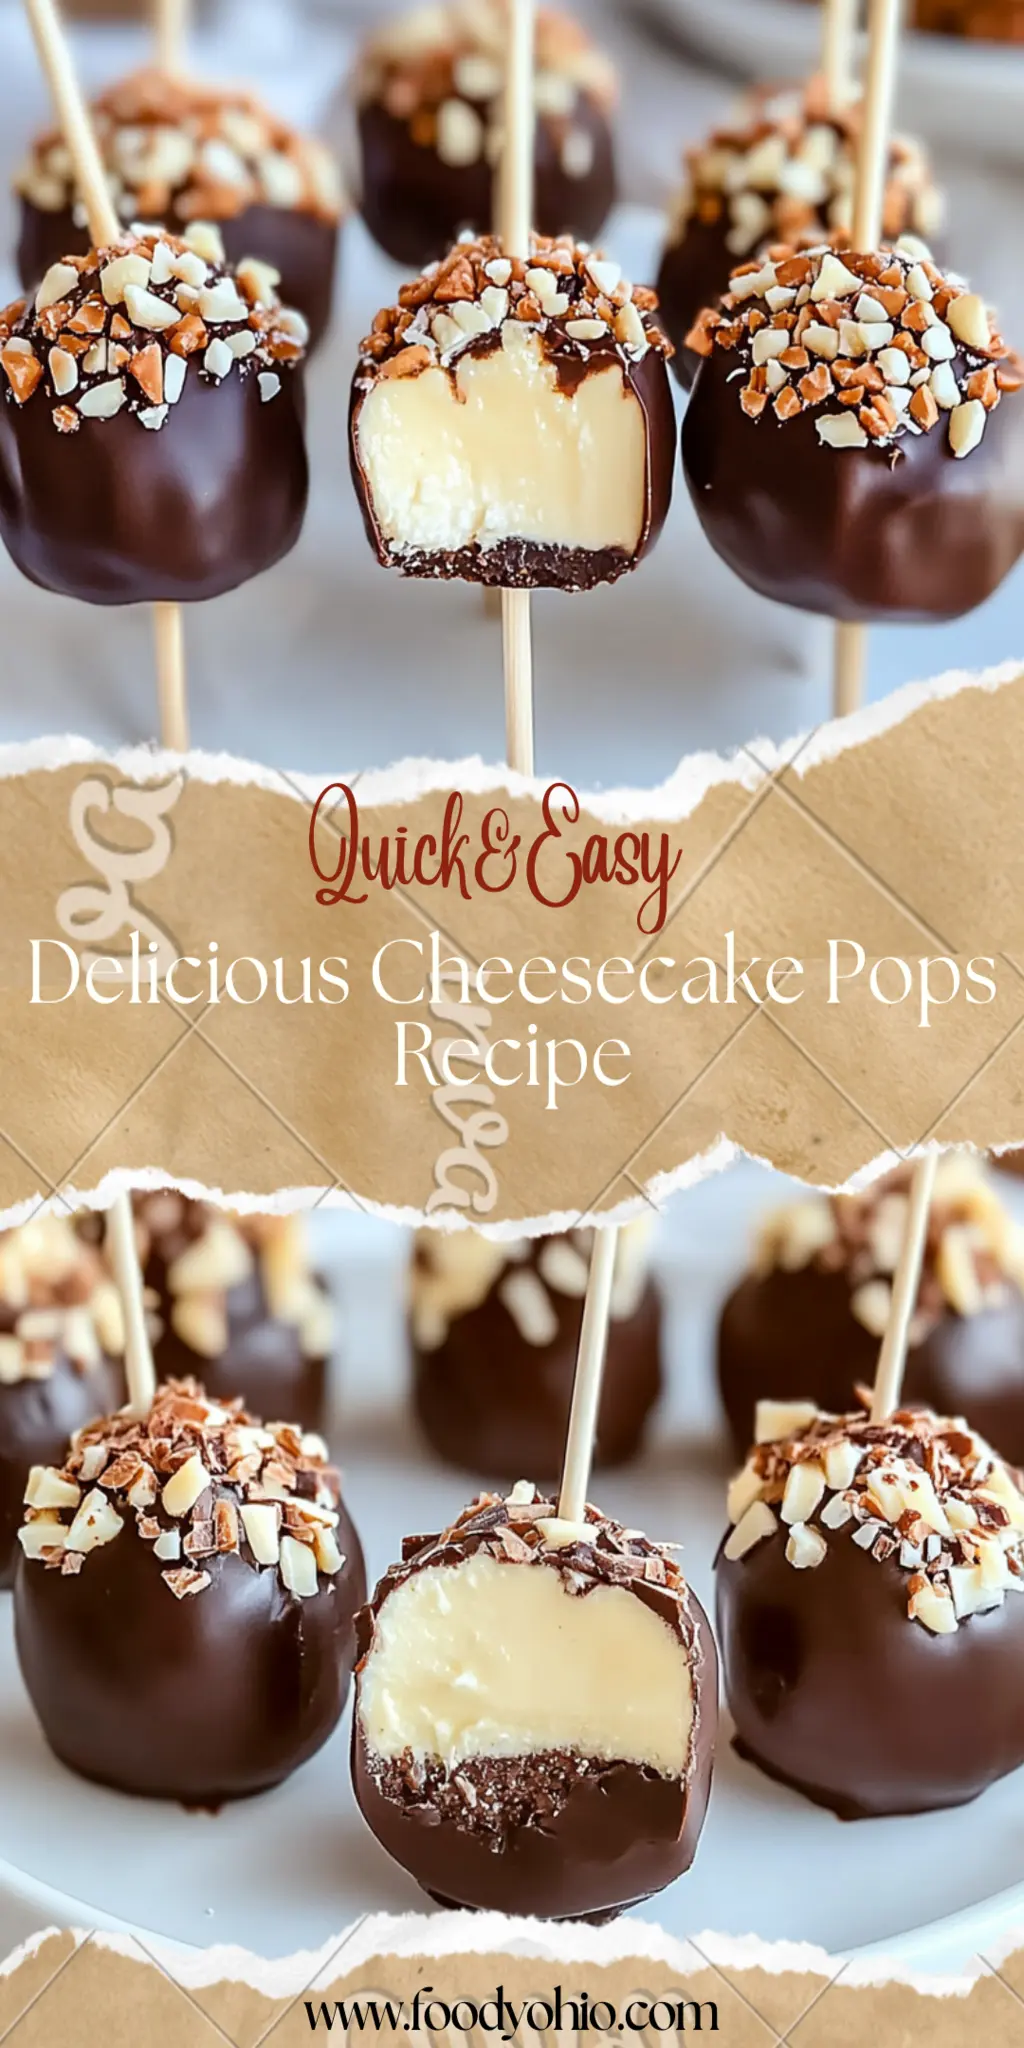
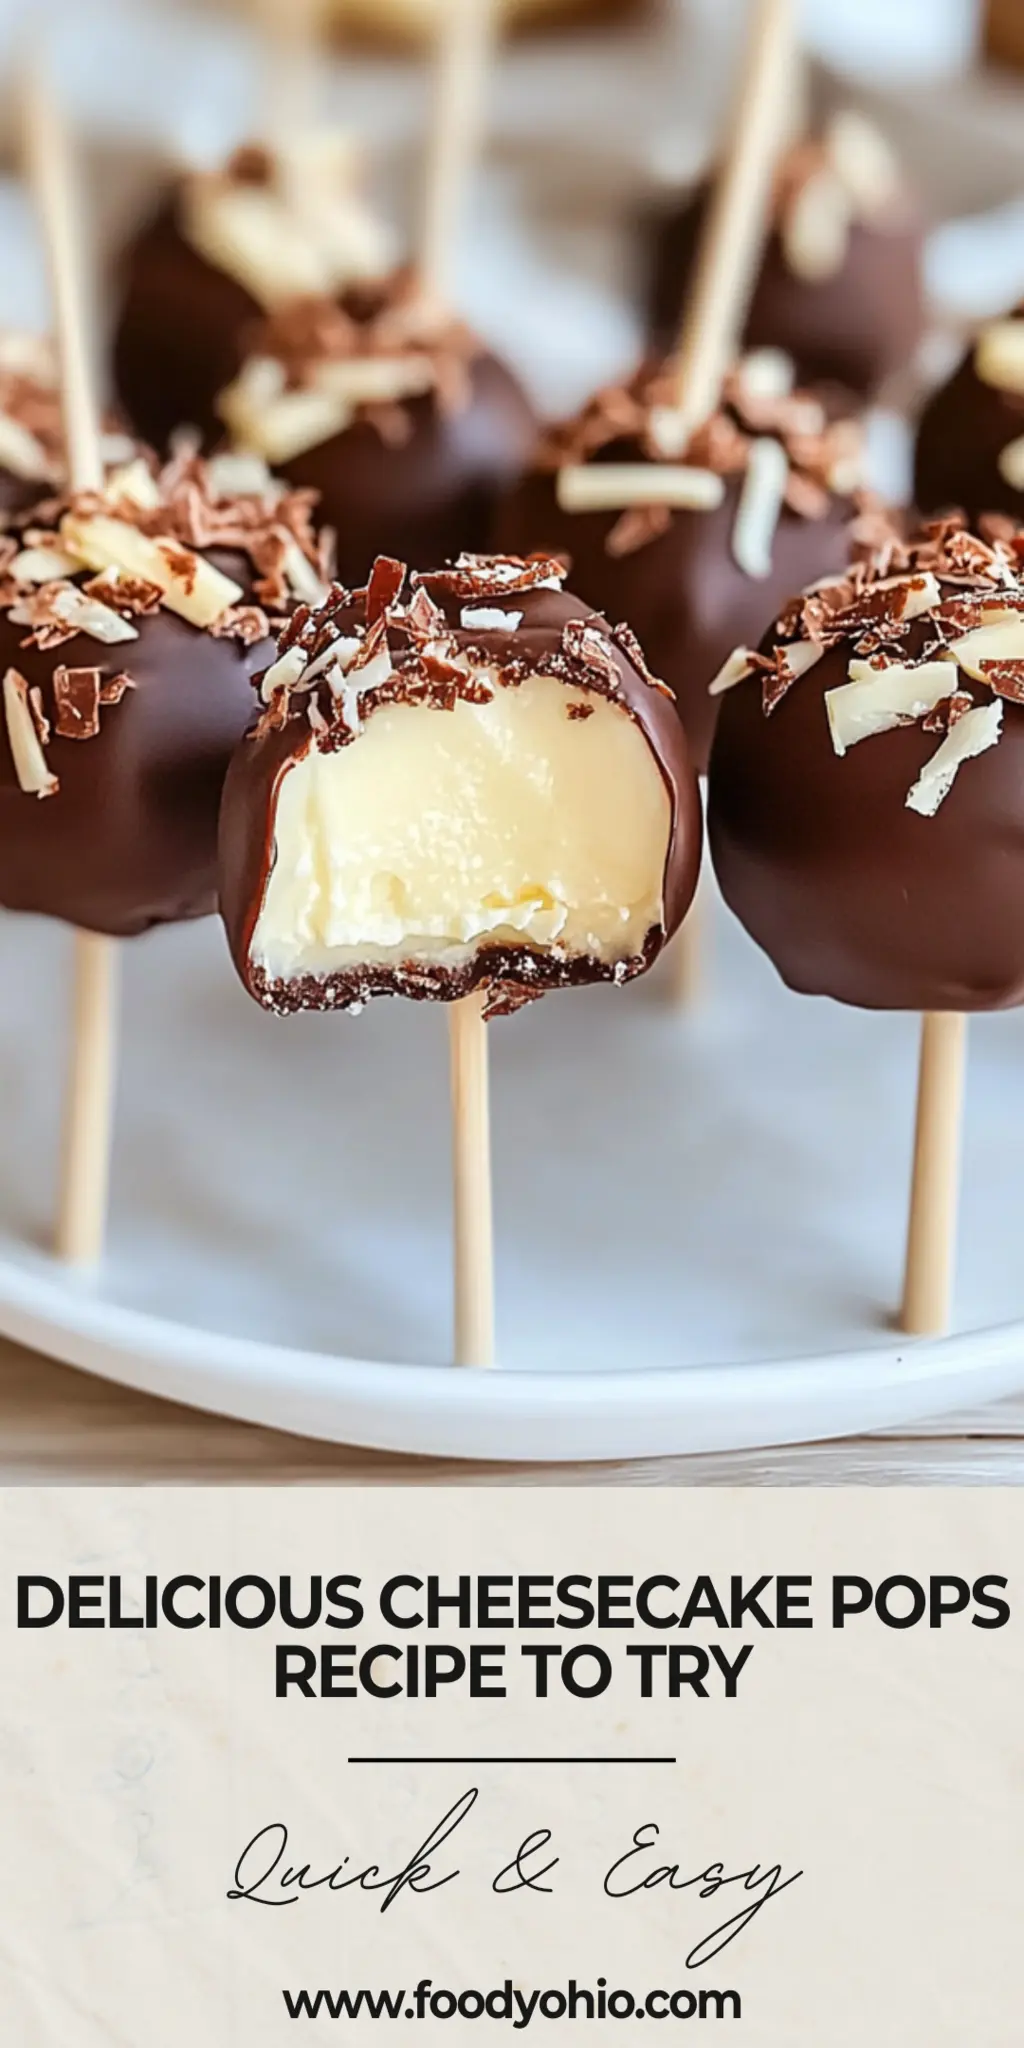
Once your cheesecake balls are frozen, dip each one into the melted chocolate, ensuring they are fully coated. Place them back on the parchment-lined sheet. The chocolate will create a delightful shell around each individual pop.
Step 6: Add Toppings and Freeze Again
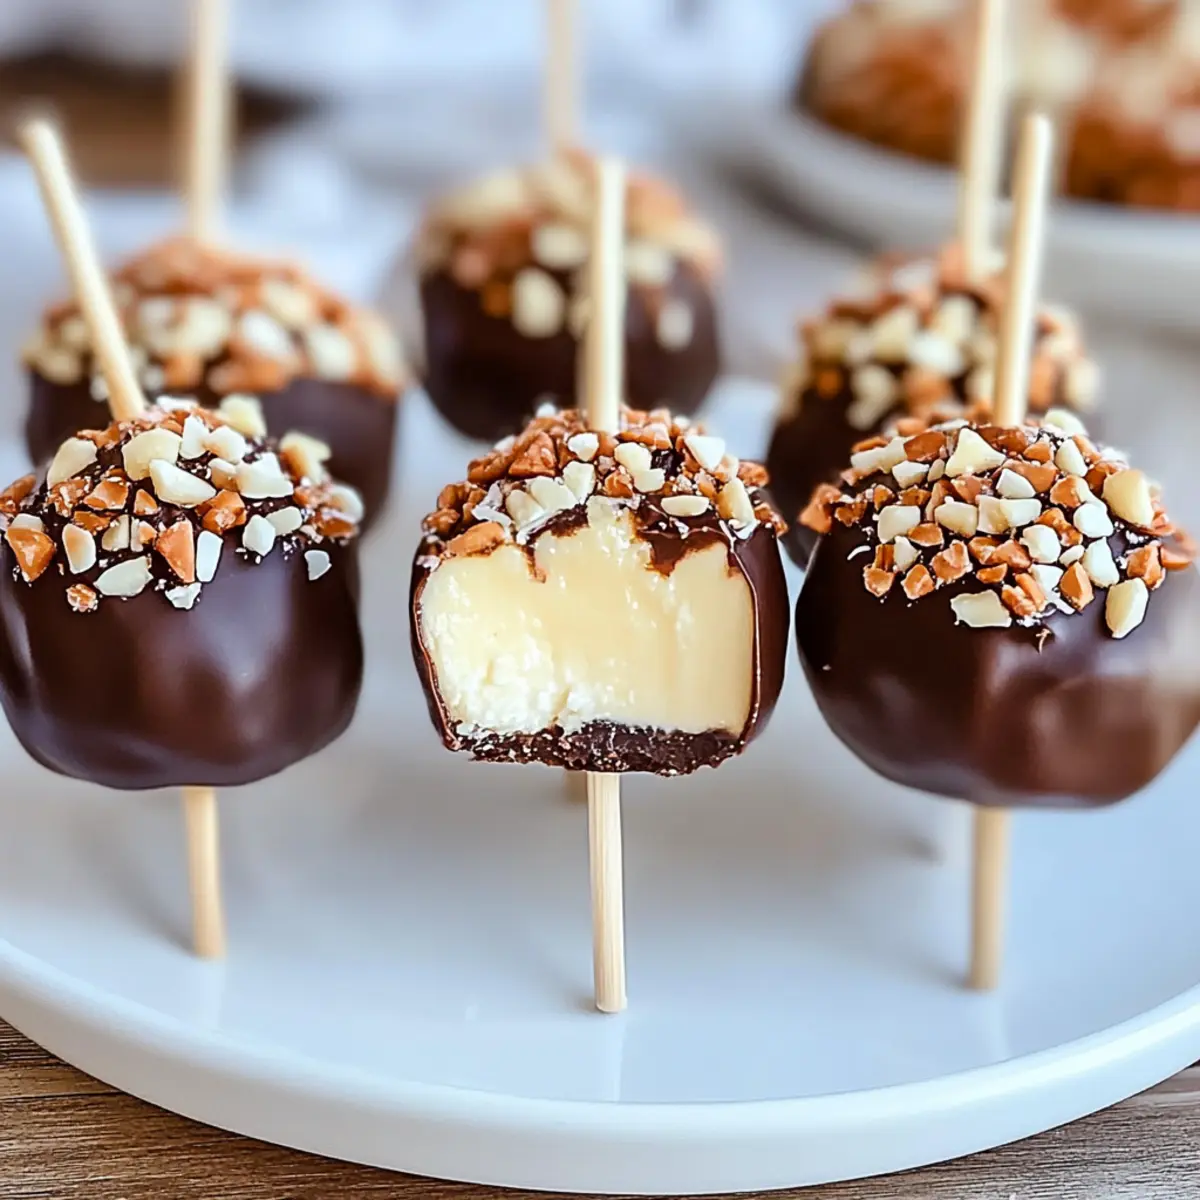
Before the chocolate sets, sprinkle your choice of toppings on each pop. Whether you opt for colorful sprinkles or a sprinkle of crushed nuts, now’s the time to get creative! Return the coated pops to the freezer for another hour to set fully.
To serve, arrange your Cheesecake Pops on a beautiful platter. They make a perfect dessert as they are easy to grab, eat, and share. Plus, they’re sure to be a conversation starter at any gathering. You may also want to prepare for compliments; trust me, you’ll deserve them! Enjoy your delightful homemade treats, dive into those sweet memories, and remember: smiles and cheesecakes go hand in hand.
You Must Know About Cheesecake Pops
- This show-stopping Cheesecake Pops delivers restaurant-quality results using simple ingredients you probably already have at home.
- The perfect balance of textures and flavors creates an unforgettable dining experience that will have everyone asking for seconds.
- Picture-perfect presentation with vibrant colors makes this dish absolutely Instagram-worthy and guaranteed to impress any dinner guest.
- Incredibly versatile recipe that works beautifully for weeknight dinners, meal prep, special occasions, or even outdoor entertaining sessions.
Perfecting Cheesecake Pops Cooking Process
Start by beating the softened cream cheese and sugar until your arm feels slightly sore, ensuring a luxuriously creamy texture. While these two are getting acquainted, prepare your toppings to add a finishing touch once the pops are dipped in chocolate.
Add Your Touch to Cheesecake Pops
Don’t be shy about getting creative! Swap in flavored extracts like almond or lemon for a unique twist, or throw in some mini chocolate chips for extra indulgence. You could even roll the pops in crushed candy bars for a crunchy surprise.
Storing & Reheating Cheesecake Pops
These Cheesecake Pops store beautifully in the freezer. Place them in an airtight container, and they’ll be good for up to 2 weeks. No reheating necessary; just pull one out whenever a craving hits!
Chef's Helpful Tips for Cheesecake Pops
- This professional-quality Cheesecake Pops relies on precise timing and temperature control to achieve restaurant-standard results consistently.
- Master the art of mise en place by prepping all ingredients beforehand, ensuring smooth execution and preventing any last-minute cooking disasters.
- The secret lies in layering flavors throughout the cooking process rather than seasoning only at the end for maximum depth.
- Pro tip: let the finished dish rest for optimal texture and flavor development before serving to hungry guests waiting eagerly.
A friend once brought these Cheesecake Pops to a potluck, and I witnessed the magical moment when the dessert table became a battlefield. Everyone wanted a piece, and by the end, they were gone faster than seconds could count!
FAQs About Cheesecake Pops
What are Cheesecake Pops?
Cheesecake pops are delightful dessert bites made from a creamy cheesecake mixture rolled into balls, coated in melted chocolate, and often adorned with colorful toppings. They are a fun twist on traditional cheesecake, allowing for a portable treat that’s perfect for gatherings or snack time. With their crunchy chocolate shell and smooth cheesecake center, these pops create a delightful contrast in textures. They’re incredibly versatile, as you can customize flavors, toppings, and even dips to suit your taste.
How can I customize my Cheesecake Pops?
Customization is where the fun begins with cheesecake pops! Consider using flavored extracts like almond, lemon, or orange for unique taste profiles. You can incorporate mix-ins like mini chocolate chips or even crushed fruit for added texture and flavor. Switching up the chocolate coating by using white, dark, or milk chocolate can transform the look and taste of your pops. Lastly, try experimenting with toppings like crushed cookies, nuts, or even edible glitter for a magical touch!
How do I store Cheesecake Pops?
To maintain their deliciousness, store cheesecake pops in an airtight container in the freezer. Properly stored, they can last for up to two weeks, making them a great make-ahead treat. If you’re planning on bringing them to a gathering, let them thaw for a few minutes at room temperature for a creamy, melt-in-your-mouth consistency. There’s no need to reheat them; simply pull a cheesecake pop out, and indulge in this delicious treat whenever the craving hits!
Are Cheesecake Pops gluten-free?
Cheesecake pops can easily be made gluten-free! The main ingredient to watch is the graham cracker crumbs, which typically contain gluten. You can substitute regular graham crackers with gluten-free alternatives made from rice or almond flour. Ensure all other ingredients, such as chocolate and toppings, are also gluten-free. With these simple substitutions, gluten-sensitive friends can enjoy these delightful cheesecake pops without worry!
Conclusion for Cheesecake Pops
Cheesecake pops are not only a fun and trendy dessert but also a delightful way to enjoy the classic flavors of cheesecake. With their creamy center and chocolatey coating, they are sure to impress your guests at any gathering. Customize them with your favorite flavors and toppings to make them truly your own. With simple ingredient swaps, everyone can enjoy these delectable cheesecake pops, making them the perfect treat for any occasion!
Deliciously Easy Cheesecake Pops Recipe
Ingredients
Equipment
Method
- In a mixing bowl, beat the cream cheese and sugar until smooth. Add vanilla extract and mix until combined.
- Stir in graham cracker crumbs until fully incorporated. Roll the mixture into 1-inch balls.
- Place balls on a parchment-lined baking sheet and freeze for 2 hours to firm up.
- Melt the chocolate using a microwave or double boiler. Dip each frozen ball into the melted chocolate until coated.
- Before the chocolate sets, sprinkle with desired toppings.
- Return the coated pops to the freezer for another hour to set.